December 2019
I2P Hydroponics
A smart, app-controlled countertop hydroponics device my team designed and prototyped through Georgia Tech's Idea-to-Prototype (I2P) program to make growing fresh, healthy food at home simple and accessible.
On this page
Throughout sophomore year, I worked on the development of a consumer hydroponics product under Georgia Tech's I2P program. In essence, I2P offers school funding and faculty advisement as groups endeavor to turn commercial Ideas into Prototypes — hence the name I2P.
Origin of the Project
The importance of innovation in the production of food, especially healthy food, cannot be overstated. In the 20th century, Norman Borlaug — the Father of the Green Revolution and a Nobel Peace Prize winner — is credited with saving over a billion people from starvation. I believe that by the end of the 21st century a second Green Revolution will be required to feed a population that is both growing in number and declining in health. The agricultural industry is responsible for the majority of both water and human land usage; in fact, nearly half the habitable land on Earth is used for agriculture. Coupled with the large percentage of food that goes to waste each year and other externalities such as inefficiencies in distribution chains — let alone issues with monoculture, petroleum-derived fertilizers, and the like — it is all but obvious that the system is not sustainable as is. The issues also extend into societal problems: namely, limited access, both physical and economic, to healthy food.
Initial Steps
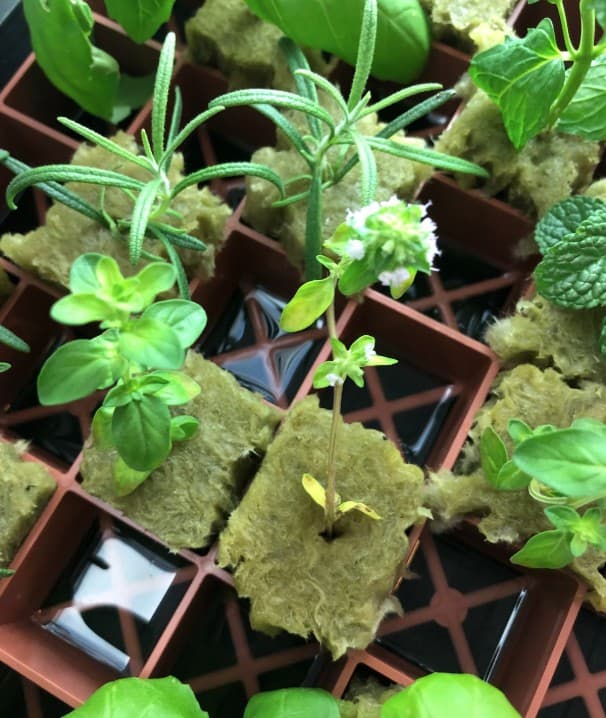
Before we began the actual design of our prototype, we set up our own DIY hydroponic systems. We used one of the simplest forms of hydroponics, the Kratky method, which lets plants grow in static, nutrient-rich water. Beginning with plants hardy to hydro systems, we grew a large variety of herbs and leafy greens. Pictured in Figure 1 are some herb clones cut from plants purchased at the local grocery store.
Design and Prototype
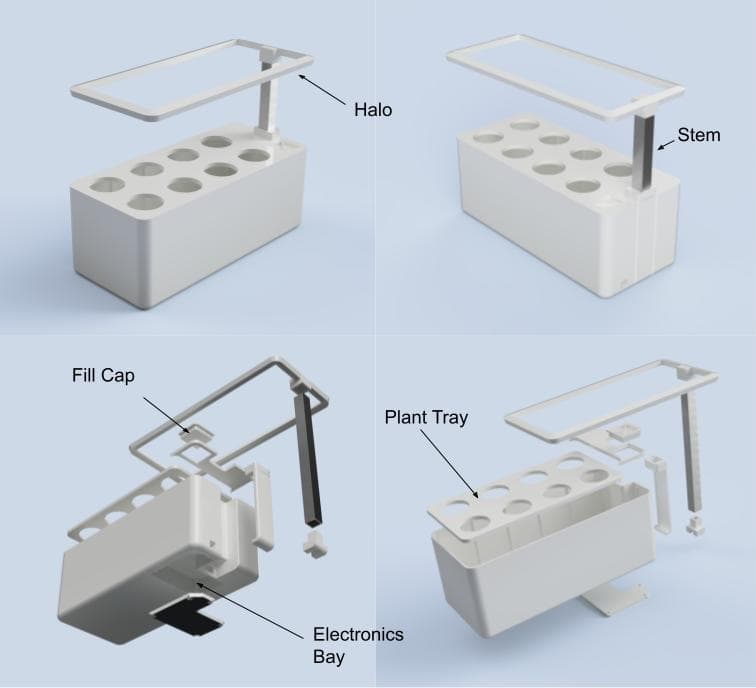
After deliberating with the team on the aesthetic design, I generated an entire model for what would eventually become our prototype. The renderings for that model can be seen in Figure 2 below. We opted for a minimalism-inspired design, with the defining element being the halo-shaped light. Additionally, the visible parts and seams are kept to a minimum, and the renderings sport a simple, two-tone finish of gloss white and bare aluminum. These renderings held true in the final prototype, which uses the very same CAD files, as seen later. For a better understanding of the assembly, Figure 2 features exploded views as well.
The design includes several key features. First, the removable plant tray can accommodate up to 8 plants. Each hole fits a standard 2″ net pot — a break from comparable devices, which attempt to force customers into purchasing proprietary pots. Other tray designs were also configured to accept various arrays of 1″ and 3″ standard pots, offering significant flexibility in what can be grown. The stem of the halo allows for articulation between 4″ and 12″ above the plant tray's surface. This is sufficient room to grow most leafy greens and herbs. The removable fill cap allows for simple replenishing of the main tub.
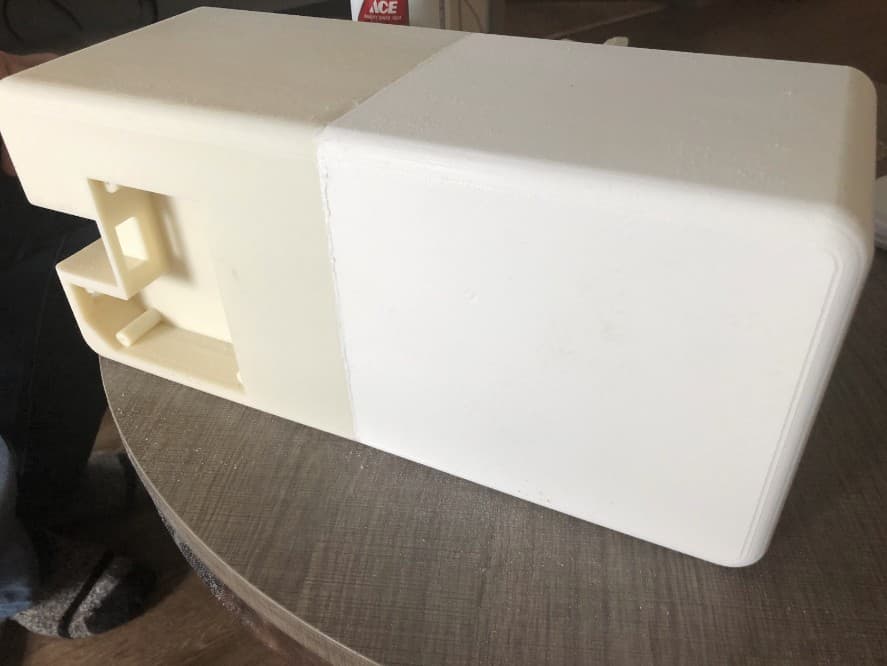
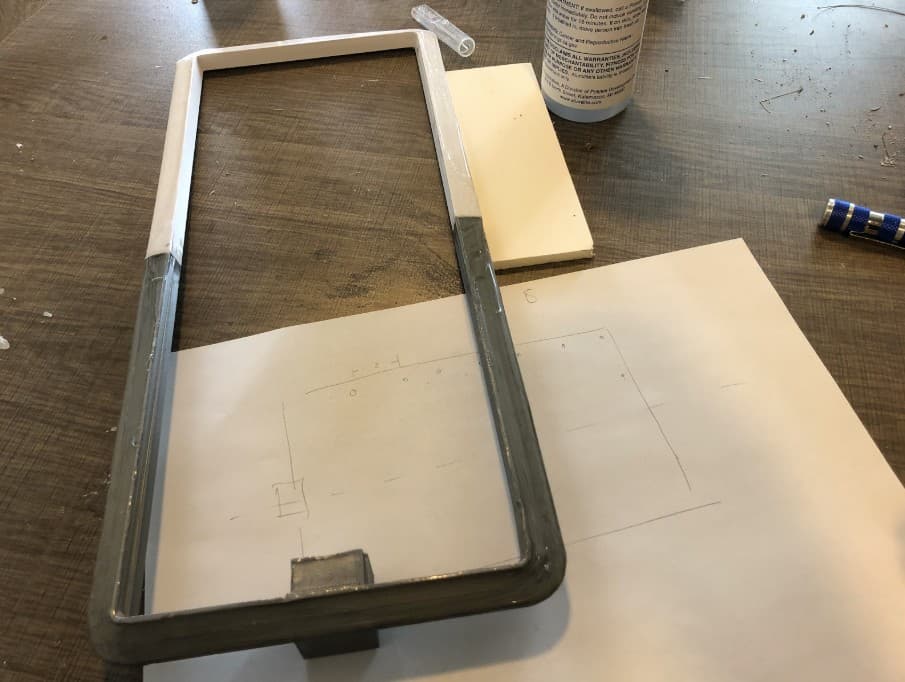
When it came time to print and assemble the prototype, the dimensions of the main tub forced it to be printed in two halves. These parts were made in ABS so they could later be chemically welded together using an ABS and acetone slurry. Next, we sanded, primed, and painted the tub. The result can be seen in Figure 3. Then we installed the capacitive sensor and coated the inside with food-grade epoxy. This let us be confident in the safety of the food grown in the prototype.
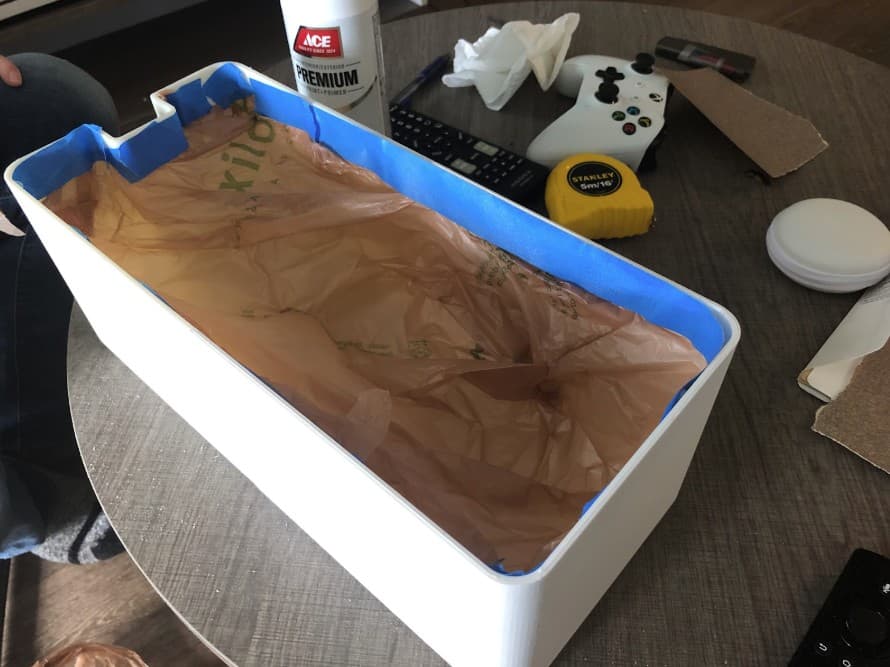
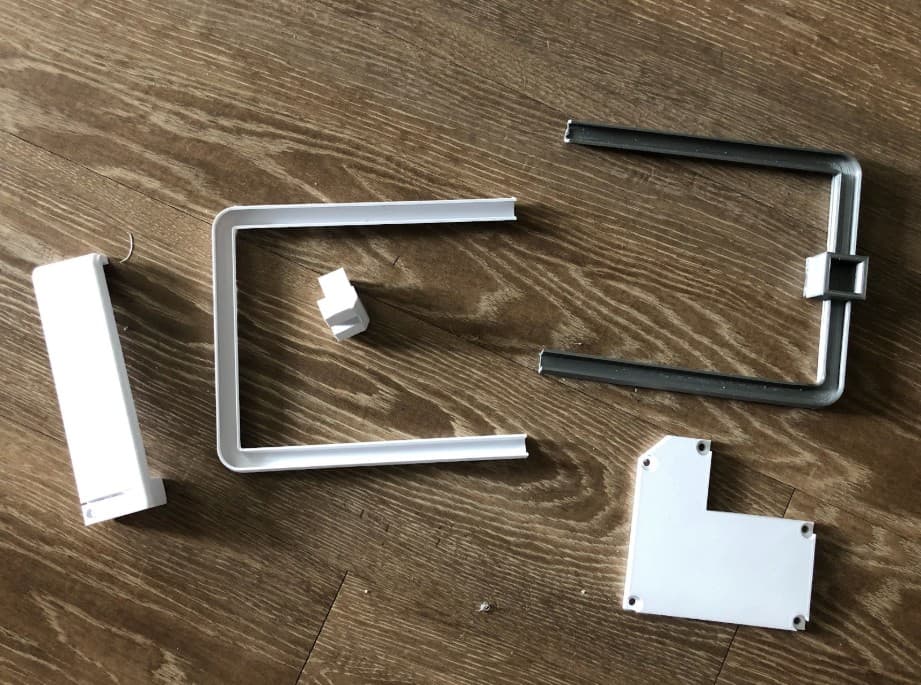
The halo was also printed in two halves, using the same process described previously for the tub. The remaining parts were printed in PLA. They were all sanded, primed, and painted. Figure 4 depicts the halo and some of the other parts. Upon completion of the physical assembly, the electronics were installed. The halo carries twenty 1-watt-equivalent LEDs, which we estimated to be adequate for the greens and herbs that would be grown in our system.
To implement all the functionality previously described, I wrote the microcontroller code using the Arduino IDE. For a backend, we used Firebase's Realtime Database. The Arduino automatically connects to Wi-Fi on startup and then to Firebase; it pulls light and pump settings from the backend and pushes relevant temperature and water-level data.
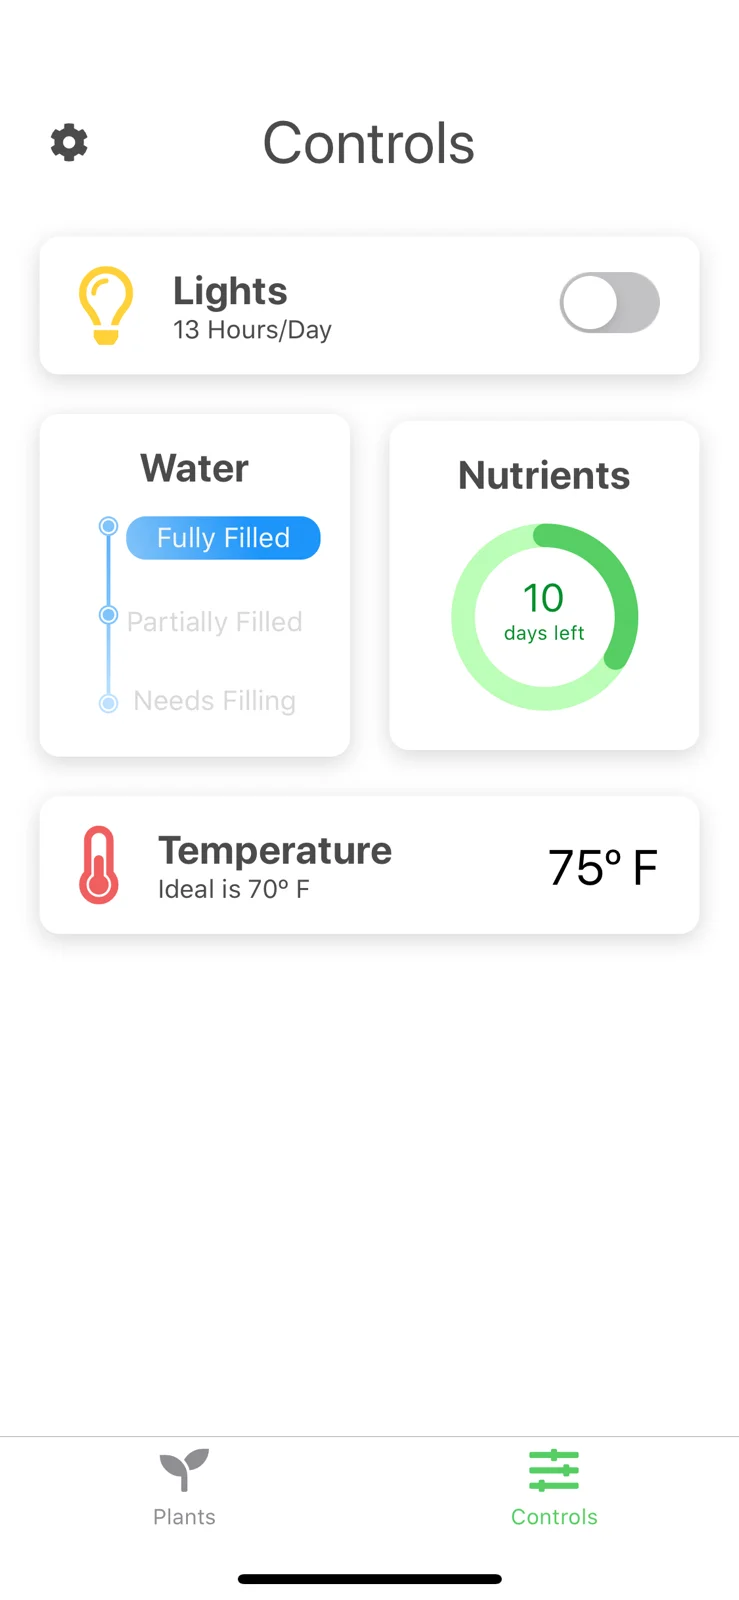
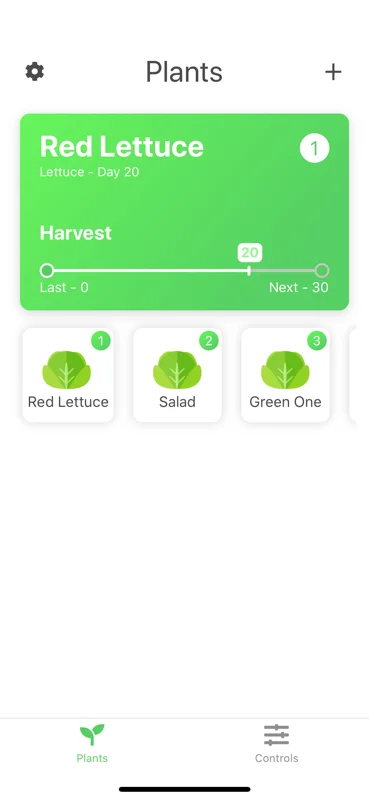
My groupmates built a functional iOS app to control the device; screenshots are featured below in Figure 5. The app displays data from the system, such as temperature and water level, and allows control of the lights and pump, plus the ability to set schedules for each. Additionally, they were building out "tips & tricks" features — for example, recommended temperature, light schedule, and estimated harvest date for specific plants. We believed these features would be integral for a product like this to gain wide adoption: there needed to be a gamified aspect to it, as people not naturally inclined toward gardening need to see success on their first use.
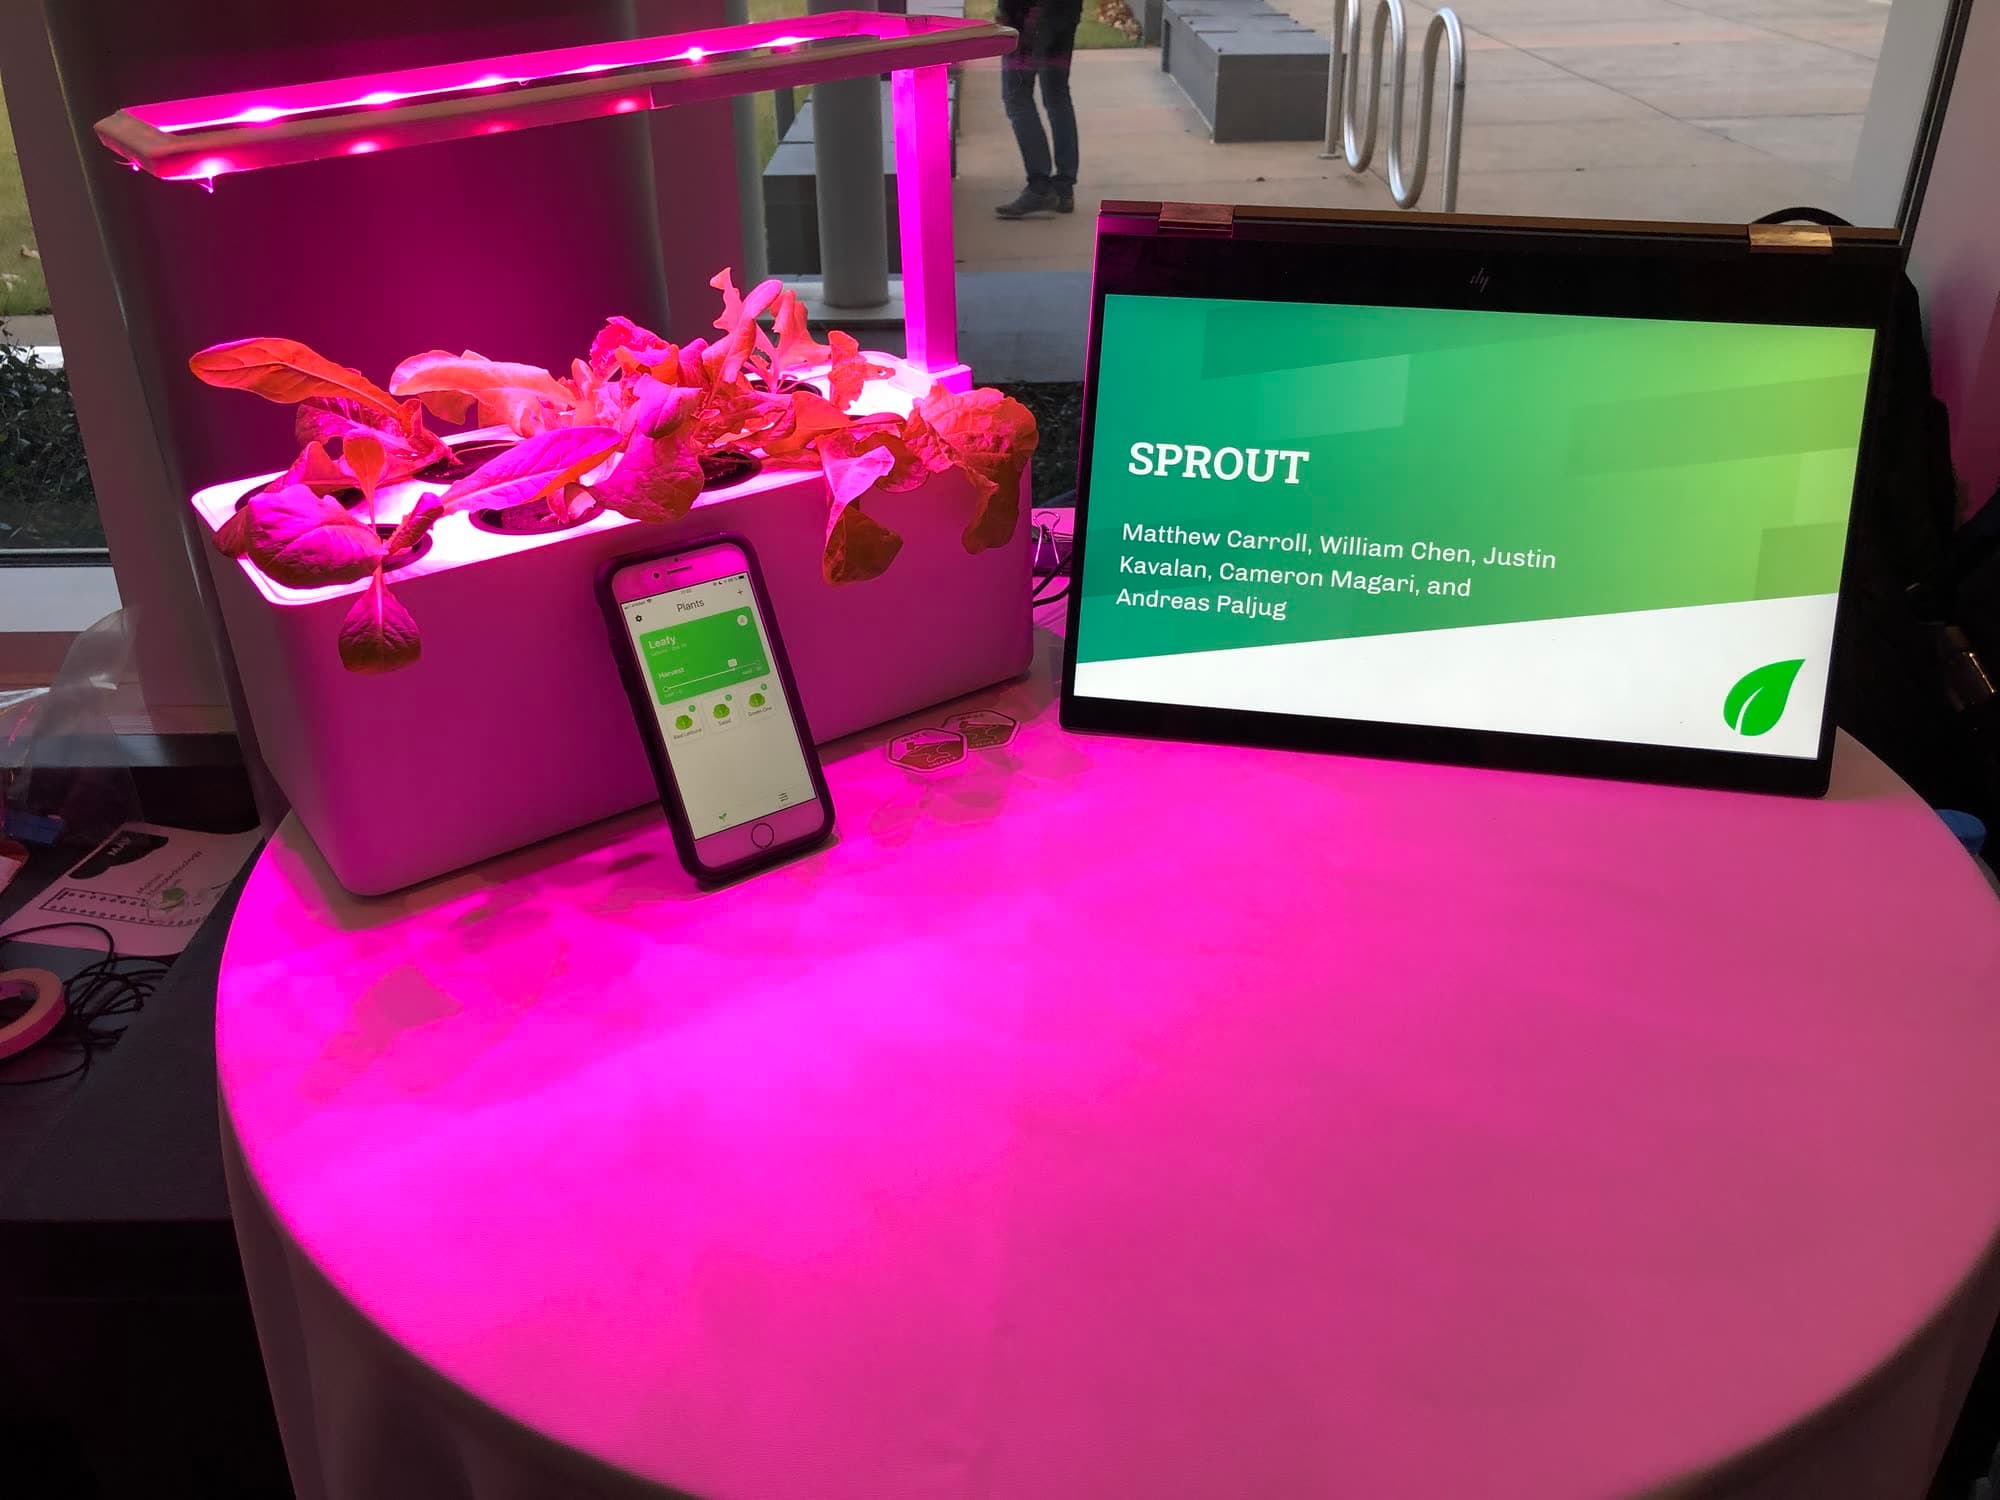
We concluded our work with a presentation, pictured above in Figure 6. As can be seen, our device was successfully growing some baby lettuce at the time. We happily ate it after the I2P Demo Day.
Future Iterations
Any future iteration will require a redesign of the halo light. Though an interesting concept, it was found to have several practical drawbacks. For one, it didn't provide adequate heat sinking for the LEDs — partly because it was 3D-printed plastic and partly because of inadequate surface area and mass. Covering the gap in the halo would also help reduce the apparent brightness of the device while the LEDs are on; this isn't as much a problem during daylight hours, but brightness is an issue in lower-light environments. Additionally, a fully reflective canopy with better-spaced LEDs would give better light coverage for the plants. Future iterations would also opt for different LEDs: not only are pink full-spectrum lights obnoxious, but white full-spectrum options with intermittent blue and red LEDs are proving to be a more effective strategy for growers.
From the perspective of the physical build and electronics hardware, many changes in materials and manufacturing would obviously be required to bring a product like this to production. For instance, the main tub would likely be injection-molded from a chemically resistant, food-grade plastic such as HDPE. All the required circuitry would be fitted on a custom PCB, and the device would be raised slightly on rubber feet to allow proper ventilation and cooling of the electronics. Even at the time, I knew the capacitive sensor wasn't a long-term solution for water-level readings — the copper contacts corrode rapidly in the nutrient-rich solution — and I planned to replace it with a float level sensor to monitor the reservoir's fill level. As for operability, future iterations should feature at least some indicator lights and control buttons on the device itself, if not a full control panel.